Install Configure
Overview of Ntopng
Ntopng is a robust, web-based tool for monitoring network traffic. It’s open-source and available for various platforms including Linux, Windows, and macOS. Ntopng offers a graphical interface that displays detailed analytics, traffic breakdowns, and bandwidth utilization. It’s an essential tool for understanding network flow and identifying potential issues.
Prerequisites
- A server running Debian 11 or Ubuntu 20.04
- Root or sudo user access
Installation on Debian 11
Step 1: Update Your System
Start by updating your system packages to ensure you have the latest versions:
sudo apt update -y && sudo apt upgrade -y
Step 2: Add the Ntopng Repository
Debian 11 does not include the Ntopng repository by default, so you’ll need to add it manually:
cd /opt
wget http://apt.ntop.org/buster/all/apt-ntop.deb
sudo dpkg -i apt-ntop.deb
Step 3: Install Ntopng
After adding the repository, update your package list again:
sudo apt update -yNow, install Ntopng:
sudo apt install ntopngStart and enable the Ntopng service to run at boot:
sudo systemctl start ntopng && sudo systemctl enable ntopngVerify the service status:
sudo systemctl status ntopngYou should see output indicating that Ntopng is active and running.
Step 4: Configure Ntopng
Edit the Ntopng configuration file to set the network interface and web server port:
sudo nano /etc/ntopng/ntopng.confAdd the following lines:
# Network interface
-i=1
# Web server port
-w=5000
Create a new file to specify local network ranges:
sudo nano /etc/ntopng/ntopng.startInclude the following configuration:
--local-networks "192.168.1.0/24"
--interface 1
Restart the Ntopng service:
sudo systemctl restart ntopngConfirm the service is listening on port 5000:
netstat -tunlp | grep 5000Step 5: Access Ntopng
Open your web browser and go to http://YourIpAddress:5000. Log in using the default credentials:
Username: admin
Password: admin
Change the default password when prompted to enhance security.
Installation on Ubuntu 20.04
Step 1: Add Ntopng Repository
First, install necessary dependencies:
sudo apt install wget gnupg software-properties-commonDownload and install the Ntopng repository package:
wget https://packages.ntop.org/apt/20.04/all/apt-ntop.deb
sudo dpkg -i apt-ntop.deb
Update the package list:
sudo apt updateInstall Ntopng and its dependencies:
sudo apt install pfring-dkms nprobe ntopng n2disk centoStep 2: Configure Ntopng
Identify your network interfaces:
ntopng -hNote the interface index you want to monitor (e.g., enp1s0). Edit the configuration file:
sudo nano /etc/ntopng/ntopng.confAdd these lines to specify the interface and web server port:
# Network interface
-i=2
# Web server port
-w=3000
Restart Ntopng and enable it to start on boot:
sudo systemctl start ntopng
sudo systemctl enable ntopng
If using a firewall, allow traffic on the web server port:
sudo ufw allow 3000Step 3: Test Ntopng
Access Ntopng via your web browser at http://localhost:3000. Log in with the default credentials:
Username: admin
Password: admin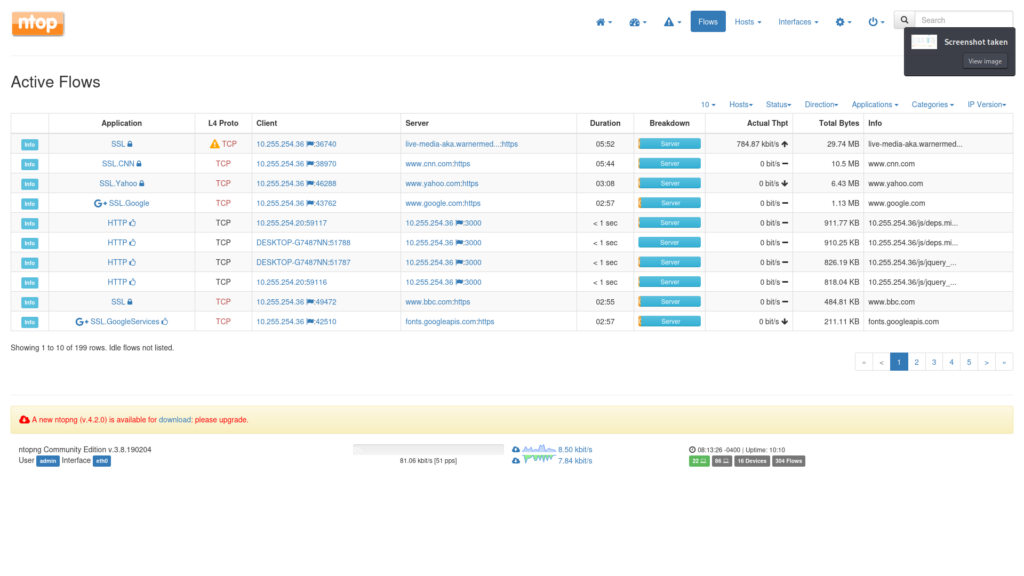

CCNA Classes in Dubai – CCNAGuru (Cisco Expert Trainer)
Join CCNA classes in Dubai by CCNAGuru, led by a Cisco-certified expert. Available for in-person and online classes with real lab practice, exam-focused training, and career guidance.
Introduction to Networks
Switching, Routing & Wireless
Enterprise Networking & Security
CCNA Training Across U.S. States
Explore CCNA Training Centers and Certification Courses across every U.S. state.
Connect with me: FB X IN YT TT WA
*All U.S. state pages are part of CCNAGuru.com's training network.